# Welcome
Odyc.js is a tiny JavaScript library designed to create narrative games by combining pixels, sounds, text, and a bit of logic.
Everything is built **through code**, but without unnecessary complexity: your entire game can fit in a single file.
---
## One Function to Make a Game
Creating a game with Odyc.js is as simple as calling `createGame()`.
You provide your sprites, dialogs, sounds, and interactions — and the engine takes care of the rest.
```js
createGame({
player: {
sprite: 7,
position: [2, 5]
},
map: `
########
#......#
#..X...#
#......#
########
`,
templates: {
X: {
sprite: 4,
dialog: 'Hello, adventurer!'
}
}
})
```
---
## Where to Start?
The documentation is organized into **three main sections**:
### 🧱 World Building
Define the player, the map, sprites, sounds, and dialogs.
### ⚙️ Interaction & Logic
Make your world interactive using events and game actions.
### 🎨 Configuration
Customize the appearance, filters, controls, colors, and screen.
---
## Questions or Ideas?
Odyc.js is an open and free project.
You’re welcome to contribute to the documentation, suggest ideas, or ask questions on [GitHub](https://github.com/achtaitaipai/odyc) or via email at [slt@charlescailleteau.com](mailto:slt@charlescailleteau.com).
---
💫 **Have fun!**
---
# Getting Started with Odyc.js
Want to create a game quickly? Here are **three ways to start**, depending on your preferences:
---
## Use the Online Editor
The easiest way to get started is to use the [online editor](/playground).
No setup required: just open the link and start coding your game directly in your browser.
---
## Use a CDN
If you prefer working locally **without a complex setup**, you can import Odyc.js from a CDN.
1. Create an `index.html` file
2. Paste the following code:
```html
```
3. Open the file in your browser.
---
## Use a Bundler (Vite, Webpack…)
For more advanced projects, you can install Odyc.js via npm:
```bash
npm install odyc
```
Then in your main JavaScript or TypeScript file:
```js
import { createGame } from 'odyc'
const game = createGame({
title: 'My Awesome Game'
})
```
---
# The Player
The `player` is the character you control in the game. It is defined by two properties: **its appearance** and **its starting position**.
---
## Player Appearance
The player’s appearance is set using the `sprite` property. It can be:
### A number between `0` and `9`
In this case, the player will be shown as a solid-colored rectangle using the corresponding color:
```js
createGame({
player: {
sprite: 7
}
})
```
### A string
This allows you to define a more complex sprite, line by line. Each digit corresponds to a color, and `.` represents a transparent pixel:
```js
createGame({
player: {
sprite: `
...44...
...88...
...88...
.434434.
4.3443.4
1.3333.1
..3333..
..3..3..
`
}
})
```
---
## Starting Position
You can define the player’s initial position on the map using the `position` key.
It should be an array in the form `[x, y]`, where `x` is the column and `y` is the row in the grid.
For example, `[2, 5]` places the character in the 2nd column and 5th row (from the top):
```js
createGame({
player: {
sprite: 7,
position: [3, 4]
}
})
```
By default, the player appears at the top-left corner of the map, at position `[0, 0]`.
---
# Sprites
Like everything else in Odyc.js, sprites are defined directly in code.
They’re described using **strings**, a bit like _ASCII art_.
```js
createGame({
player: {
sprite: `
...55...
...55...
.000000.
0.0000.0
5.0000.5
..3333..
..3..3..
..0..0..
`
}
//...
})
```
---
## A Simple Colored Block
If you want an element to appear as a plain colored rectangle, just assign a single character that corresponds to a palette color:
```js
sprite: '5'
```
---
## Drawing Sprites
Sometimes it’s easier to draw than to explain.
Use the editor below to try out how sprite definitions work.
On one side, you can draw; on the other, you’ll see the code string that represents your sprite.
Each line represents a row of pixels, and each character is a pixel:
- **Characters `0–9`, `a–z`, `A–Z`**: correspond to entries in your palette (up to 62 colors total)
- **Newline**: starts a new row
- **Spaces, tabs, blank lines**: are ignored
- **Other characters**: represent transparent pixels (e.g. `.`)
---
## Sprite Inspiration
Here are two useful resources for generating or browsing sprite ideas:
- [Pixeltwist](https://pixeltwist.achtaitaipai.com/) – an infinite stream of random sprites.
- [Baxel](https://baxel.achtaitaipai.com/) – a growing, open collection of community-created sprites.
---
# Templates and the Map
`templates` define all the objects in your game — obstacles, items, characters, etc.
Each template is associated with a unique character (e.g. `"X"`, `"$"`, `"e"`, `"#"`).
You can then assign a set of properties to each template and place them in the `map`.
---
## Template properties
Each template accepts the following properties:
| Property | Default value | Description |
| --------- | ------------- | ---------------------------------------------------------------------------------------------------------- |
| `solid` | `false` | Determines whether the player can pass through the object. |
| `visible` | `true` | Whether the sprite is visible or not. |
| `sprite` | None | Defines the visual appearance of the object ([see sprites](/doc/world-building/sprites)). |
| `sound` | None | Sound played when interacting with the object ([see sounds](/doc/world-building/sounds)). |
| `dialog` | None | Dialog displayed when the player interacts with the object ([see dialogs](/doc/world-building/dialogues)). |
| `end` | None | Ends the game with a custom message ([see title & end screen](/doc/world-building/title-and-end)). |
```js
createGame({
templates: {
r: {
sprite: 6,
sound: ['HIT', 999],
visible: false,
end: 'Game Over'
},
g: {
sprite: 7,
dialog: "I'm grass.",
solid: false
}
}
})
```
---
## The Map
The `map` defines how objects are arranged in the world using an ASCII grid.
Each character in the grid corresponds to a `template`.
💡 Creating a map is a lot like drawing a sprite!
- Each character defined in `templates` is interpreted.
- Spaces, tabs, and empty lines are ignored.
- Any undefined character is treated as an empty cell.
```js
createGame({
templates: {
x: { sprite: 0 },
g: { sprite: 7 },
r: { sprite: 4 }
},
map: `
xxxxxxxxxxxxxxxx
x..............x
x...........g..x
x..............x
x..............x
x....r.........x
x..............x
xxxxxxxxxxxxxxxx
`
})
```
---
## Dynamic Templates
A `template` doesn’t have to be a fixed object —
you can also define it as a **function that returns an object**.
This is useful when you want to create elements that are **slightly different each time they appear**.
For example, to create a wall where **each instance has a different color**:
```js
createGame({
templates: {
x: () => ({
sprite: Math.floor(Math.random() * 9)
})
}
//...
})
```
The function is called **every time an `x` element is placed on the map**.
This lets you introduce variability or conditional logic into your game world.
---
# Sounds
Odyc.js uses **PFXR**, a lightweight JavaScript library made specifically for generating procedural sound effects. It allows you to create, customize, and play very compact audio assets.
---
## Defining a sound in a template
A sound can be associated with a game element using the `sound` key. It will automatically be played when the player interacts with that element.
```js
templates: {
E: {
sprite: 3,
sound: "HIT"
}
}
```
---
## Accepted formats
The `sound` key accepts several formats:
### A preset name
```js
sound: 'FALL'
```
Here's a list of available presets. Click a name to hear an example. Each click generates a random variation.
Be careful with `RANDOM` — turn your volume down before clicking.
### An array `[preset, seed]`
If you want the sound to always be the same, you can specify a number (seed):
```js
sound: ['LASER', 12345]
```
You can use the Sound tool in the playground to find the perfect sound.
### A PFXR URL
You can create a custom sound using [the Pfxr interface](https://achtaitaipai.github.io/pfxr/) and paste the generated URL:
```js
sound: 'https://achtaitaipai.github.io/pfxr/?fx=1,0.3,...'
```
### A configuration object
For full control, use an object describing the sound parameters:
```js
sound: {
waveForm: 2,
frequency: 440,
sustainTime: 0.2,
decayTime: 0.5
}
```
You can find the complete list of parameters [here](https://github.com/achtaitaipai/pfxr/tree/main/packages/synth#sound).
---
## Global volume
The overall sound volume can be adjusted via the `volume` key in the initial game configuration:
```js
createGame({
volume: 0.8
})
```
Default value: `0.5`
---
# Dialogues
Dialogues let you add conversations, hints, or narrative elements to your game.
You can also enhance them with visual effects and color highlights.
---
## Defining a dialogue
To assign a dialogue to a game element, use the `dialog` property in the `templates` section:
```javascript
createGame({
templates: {
'@': {
dialog: 'Hello world!'
}
}
})
```
Every time the player interacts with the `@` element, a dialogue box will display `Hello world!`.
---
## Splitting a dialogue
To force a line break, use the `|` character.
```js
'Hello!|How are you?|Have a great day!'
```
---
## Adding effects and colors to text
You can make your dialogue more expressive with simple syntax for **visual effects** and **color changes**.
### Effects
| Effect | Syntax | Description |
| ---------------- | ------------- | ------------------------- |
| Vertical wave | `~your text~` | Letters move up and down |
| Horizontal wave | `_your text_` | Letters wave side to side |
| Random shake | `your %text%` | Chaotic shaking |
| Horizontal shake | `your =text=` | Left-right shaking |
| Vertical shake | `your ^text^` | Up-down shaking |
| Blinking | `your °text°` | Flashing on/off |
### Colors
To apply a color, wrap text in ``, where `c` is a character representing a color from [your palette](/doc/configuration/colors#customizing-the-palette):
```js
'<3>Blue text<3>'
```
You can also combine effects and colors:
```js
'~<2>Gray text with wave effect<2>~'
```
---
## Displaying special characters
To display a reserved character (like `%`, `~`, `_`, `^`, `=`, `°`), escape it with **two backslashes** `\\`:
```js
'I only have 56\\% battery left'
```
will display:
_I only have 56% battery left_
---
# Title & End Screen
The message box is used to display information like the **game title** when starting up, or an **end message** when the player wins or loses.
---
## Title screen
When the game starts, you can show a **title screen** using the `title` property:
```js
createGame({
title: 'My Awesome Game'
})
```
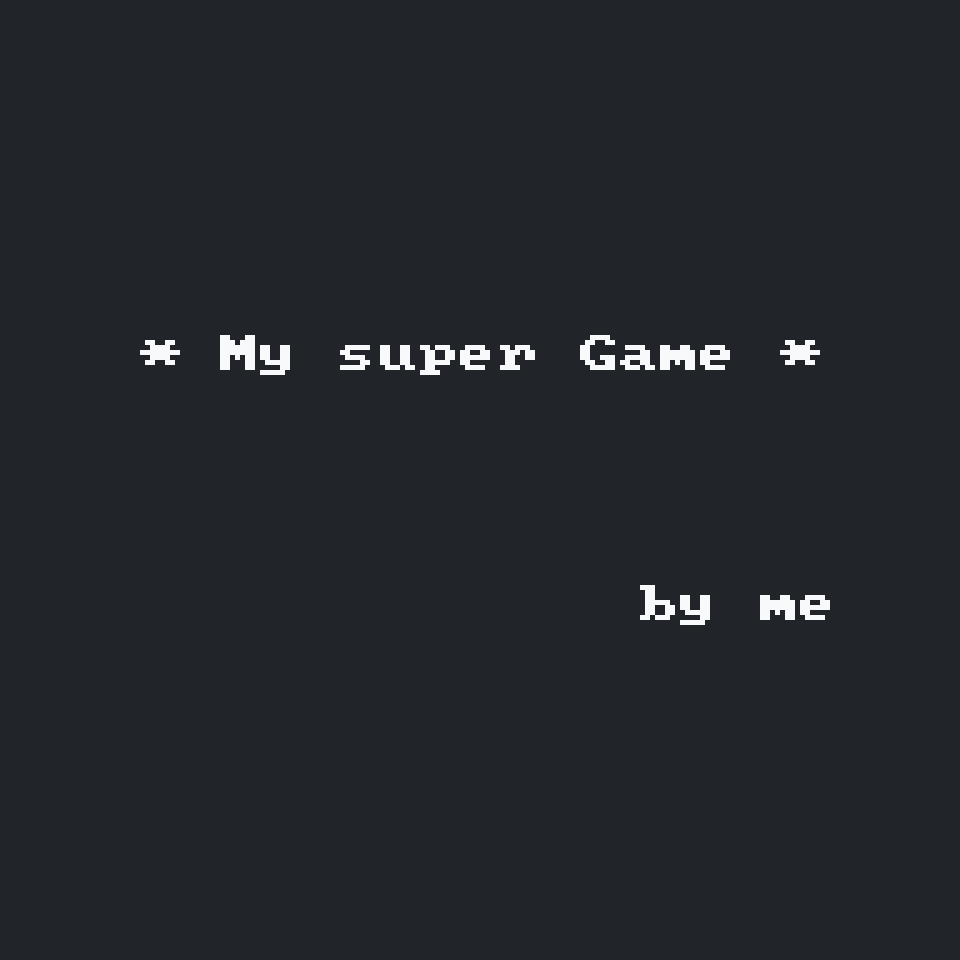
To add **line breaks**, use a multiline string:
```js
createGame({
title: `** AN AWESOME GAME **
by John Doe`
})
```
---
## Ending the game
To end the game when the player touches a specific element, use the `end` property in a `template`.
The message will be shown, and then the game will restart from the beginning.
```js
createGame({
templates: {
X: {
sprite: 2,
end: 'The End...'
}
}
})
```
---
## Showing multiple messages
You can display several messages in sequence by using an array of strings:
```js
createGame({
title: ['An awesome game', 'by John Doe']
})
```
```js
createGame({
templates: {
X: {
sprite: 2,
end: ['You lost', 'Game Over...']
}
}
})
```
---
## Add effects and colors
Just like with dialogues, you can enhance the text with **colors** and **animations**.
---
# Events
To add interactivity, Odyc.js provides a simple event system.
Events let you trigger actions or modify the game state when the player interacts with an element.
Events are defined inside `templates`.
---
## Types of events
There are six types of events:
- **`onCollide`** — called when the player **collides** with the element
- **`onEnter`** — called when the player **enters a tile** containing the element
- **`onLeave`** — called when the player **leaves a tile** containing the element
- **`onScreenEnter`** — called when the element **enters the visible screen area**
- **`onScreenLeave`** — called when the element **leaves the visible screen area**
- **`onTurn`** — called at the **end of each turn**, after the player has attempted to move
```js
createGame({
templates: {
x: {
onCollide() {
alert(1)
},
onEnter() {
alert(2)
},
onLeave() {
alert(3)
}
onTurn(){
alert(4)
}
onScreenEnter() {
alert('hi')
}
onScreenLeave() {
alert('bye')
}
}
}
})
```
---
## The target of the event
When an event is triggered, the affected object is passed as a parameter to the function.
You can use it to **modify the object dynamically** or even **remove it**.
```js
createGame({
templates: {
x: {
onCollide(target) {
target.remove()
}
}
}
})
```
---
### Available properties
| Property / Method | Type | Description | Read-only |
| ----------------- | ---------------------- | -------------------------------------------------- | --------- |
| `solid` | `boolean` | Makes the object passable or not | No |
| `visible` | `boolean` | Shows or hides the object | No |
| `sprite` | `number` \| `string` | Changes the appearance of the object | No |
| `sound` | `string` \| `object` | Changes the sound played on interaction | No |
| `dialog` | `string` \| `string[]` | Modifies the text displayed in the dialog box | No |
| `end` | `string` \| `string[]` | Triggers a custom game ending | No |
| `symbol` | `string` | The character representing the object in the `map` | Yes |
| `position` | `[number, number]` | `[x, y]` coordinates of the object on the map | Yes |
| `isOnScreen` | `boolean` | `true` if the element is on screen | Yes |
| `remove` | `() => void` | Removes the object | — |
---
### Example: change a property
Let’s create a character that says "Hello" the first time, and "Hello again" next time:
```js
createGame({
templates: {
x: {
dialog: 'Hello',
onCollide(target) {
target.dialog = 'Hello again'
}
}
}
})
```
---
### Remove an object
To make an object disappear when touched, use the `remove()` method:
```js
createGame({
templates: {
x: {
dialog: 'Hello',
onCollide(target) {
target.remove()
}
}
}
})
```
---
# Game Actions
The `game` object exposes several methods to trigger visual or audio effects: show a message, open a dialogue, play a sound, or end the game.
These methods can be called dynamically at any point during gameplay (for example inside `onCollide`, `onEnter`, or from custom logic).
---
## Open a dialog
To trigger a dialog manually, use `game.openDialog()`:
```js
const game = createGame({
// ...
})
game.openDialog('Hello world!')
```
This will display a dialog box with the provided text.
You can use text effects and colors as well (see [Dialogues](/doc/world-building/dialogues)).
---
## Play a sound
To play a sound manually, use `game.playSound()`:
```js
game.playSound('BLIP')
game.playSound('PICKUP', 42)
game.playSound('https://pfxr/...')
game.playSound({ frequency: 300, waveForm: 1 })
```
You can pass a **preset name**, a **preset + seed**, a **PFXR URL**, or a **custom sound object**.
See [the Sounds page](/doc/world-building/sounds) for more details.
---
## Show a message
The method `game.openMessage()` lets you show one or more message boxes:
```js
game.openMessage('Hello')
game.openMessage('Hello', 'Welcome')
game.openMessage('Hello and ~welcome~')
```
---
## Ask the player a question
The `game.prompt()` method lets you present multiple options to the player:
```js
await game.prompt('yes', 'no')
await game.prompt('Rock', 'Paper', 'Scissors')
```
This method returns a **promise** containing the **index** of the selected option: `0` → first option, `1` → second option…
This allows you to react based on the player's choice:
```js
const choice = await game.prompt('Go left', 'Go right')
if (choice === 0) {
game.openMessage('You turned left')
} else {
game.openMessage('You turned right')
}
```
---
## Display a menu
The `game.openMenu()` method lets you **nest multiple `prompt()` calls**.
It’s a simple way to present a structured menu, with sub-options and associated actions.
```js
await game.openMenu({
Greet: {
Hello: () => game.openDialog('Hello there'),
Yo: () => game.openDialog('Excuse me?')
},
Insult: () => game.openDialog('Same to you!'),
Ignore: null
})
```
- A **function** → triggers an action
- An **object** → opens a **sub-menu**
- `null` → shows a **disabled option**
---
## End the game
To restart the game from the beginning, call `game.end()`.
If you provide one or more strings, they will be shown in the message box before restarting.
```js
game.end()
game.end('You win!')
game.end('Game over', 'But nice try.')
```
---
## Chain actions
The methods `openDialog`, `openMessage`, and `playSound` **return a promise**, which lets you wait for one to finish before continuing.
For example, wait for a message to finish before playing a sound:
```js
await game.openMessage('Watch out...')
game.playSound('EXPLOSION')
```
Or create a sequence of dialogs with a sound in between:
```js
await game.openDialog('Are you ready?')
await game.playSound('BLIP')
await game.openDialog("Let's go.")
```
---
# The Game State
To update the grid, add or remove elements, you can use the `game` object, which provides a set of dedicated methods.
---
## `getCell`
This method lets you access an element at a specific position on the grid and modify its properties:
```js
const game = createGame()
const element = game.getCell(9, 4)
element.visible = false
```
---
## `setCell`
This method modifies an element directly at a specific position.
It takes three arguments: `x`, `y`, and an object with the properties to update.
```js
game.setCell(3, 4, {
visible: false,
dialog: 'I am invisible'
})
```
---
## `setAll`
`setAll` allows you to update **all elements** that share the same symbol:
```js
game.setAll('#', {
visible: false
})
```
---
## `addToCell`
Adds a new element to a given cell.
Parameters: position `x`, position `y`, and the symbol of the element to add.
```js
game.addToCell(3, 2, '#')
```
---
## `player`
The `game.player` object gives you access to the **player** and lets you change their `position` and `sprite`:
```js
game.player.position = [5, 6]
game.player.sprite = `
..1..
.111.
11111
.1.1.
.1.1.
`
```
---
## `turn`
The `game.turn` property lets you track the **number of turns** since the game started.
A **turn** corresponds to **a player movement attempt**, whether the move is successful or not.
```js
const game = createGame({
onTurn() {
if (game.turn % 10 === 0) {
game.openMessage(`10 turns have passed!`)
}
}
})
```
---
## `width` and `height`
To get the dimensions of the world, use the `game.width` and `game.height` properties.
These are read-only values.
```js
alert(`width: ${game.width}, height: ${game.height}`)
```
---
## `loadMap`
To load a new map, use `game.loadMap()`.
It takes two arguments:
1. A new `map` string (multiline format),
2. An optional position to reset the player.
```js
game.loadMap(
`
########
#......#
#......#
#......#
#......#
#......#
#......#
########
`,
[3, 5]
)
```
---
## `updateFilter`
You can update the current filter settings using the `updateFilter` method.
It accepts an object containing only the **settings to update** (all other settings remain unchanged).
```js
const game = createGame({
filter: {
name: 'fractal',
settings: {
sideCount: 12,
scale: 0.9,
rotation: 0
}
}
})
game.updateFilter({
scale: 0.3
})
```
---
## Rendering Behavior
Odyc automatically re-renders the screen **every time the game state changes**.
If you update a property like `sprite`, `position`, `dialog`, `visible`..., the game will reflect the change immediately:
```js
game.player.sprite = newSprite
game.setCell(3, 4, { visible: false })
```
---
# Customizing Colors
Odyc.js uses a predefined color palette to render sprites, dialogs, and messages.
You can replace or adjust it however you like.
---
## Customizing the Palette
Here is the default color palette. Click a color to copy its hex code.
_These colors are based on the excellent [Open Color](https://yeun.github.io/open-color/) palette._
By **default**, the palette contains **10 colors**, referenced by characters `0` to `9`.
However, you can provide up to **62 colors** in total.
In that case, you can use the full range of characters to represent colors in your sprites:
```
0–9 → first 10 colors
a–z → next 26 colors
A–Z → final 26 colors
```
Each character corresponds to a position in the `colors` array.
```js
createGame({
colors: [
'red', // 0
'orange', // 1
'lab(50% 40 59.5)', // 2
'hwb(12 50% 0%)', // 3
'#f06595', // 4
'#f09', // 5
'oklch(60% 0.15 50)', // 6
'hsl(150 30% 60%)', // 7
'light-dark(white, black)', // 8
'black', // 9
'hotpink', // a
'#0000ff', // b
'#ffff00' // c
// and so on...
]
})
```
The `colors` array can include any valid [CSS color value](https://developer.mozilla.org/en-US/docs/Web/CSS/color_value): names, hex codes, HSL, LAB, etc.
---
## Background Color
Use the `background` option to set the background color.
```javascript
createGame({
//...
background: '#ff00ff'
})
```
The `background` value can be a [CSS color](https://developer.mozilla.org/en-US/docs/Web/CSS/color_value) or a character pointing to a color in your palette.
---
## Dialog and Message Appearance
You can also customize the appearance of dialog and message boxes with dedicated options.
### Dialog Box
- `dialogColor` → text color
- `dialogBackground` → background color
- `dialogBorder` → border color
These values can be any [CSS color](https://developer.mozilla.org/en-US/docs/Web/CSS/color_value) or a character referring to a color from your palette.
```javascript
createGame({
// ...
dialogBackground: '#228be6',
dialogBorder: '3',
dialogColor: 'white'
})
```
### Message Box
- `messageColor` → text color
- `messageBackground` → background color
These also accept any valid [CSS color](https://developer.mozilla.org/en-US/docs/Web/CSS/color_value) or a palette index.
```javascript
createGame({
//...
messageColor: 'red',
messageBackground: '#228be6'
})
```
---
# The Camera
The camera controls which part of the game world is visible.
You can customize the **sprite size**, **screen size**, and **tracking behavior** for either a smooth or snappy follow effect.
---
## Sprite Size
By default, each sprite is **8 × 8 pixels**, but you can change this using `cellWidth` and `cellHeight`:
```js
createGame({
cellWidth: 16,
cellHeight: 32
})
```
---
## Screen Size
The screen size defines the visible area of the world.
It is measured in **grid cells**, not pixels:
```js
createGame({
screenWidth: 16,
screenHeight: 12
})
```
---
## Camera Tracking
By default, the camera **snaps instantly** when the player moves off screen.
To enable **smooth tracking**, define a central invisible **tracking zone** around the player.
The camera will only move when the player exits this zone.
These dimensions are also in grid cells, not pixels.
```js
createGame({
screenWidth: 12,
screenHeight: 12,
cameraWidth: 4,
cameraHeight: 4
})
```
---
# Filters
**Filters** let you apply visual effects to the entire screen, changing the overall look of your game.
---
## Usage
To use a filter, simply pass a `filter` option when calling `createGame`:
```js
createGame({
filter: {
name: 'neon'
}
})
```
Each filter has a **name**, and can take custom **settings** using the `settings` key.
---
## Available Filters
### `fractal`
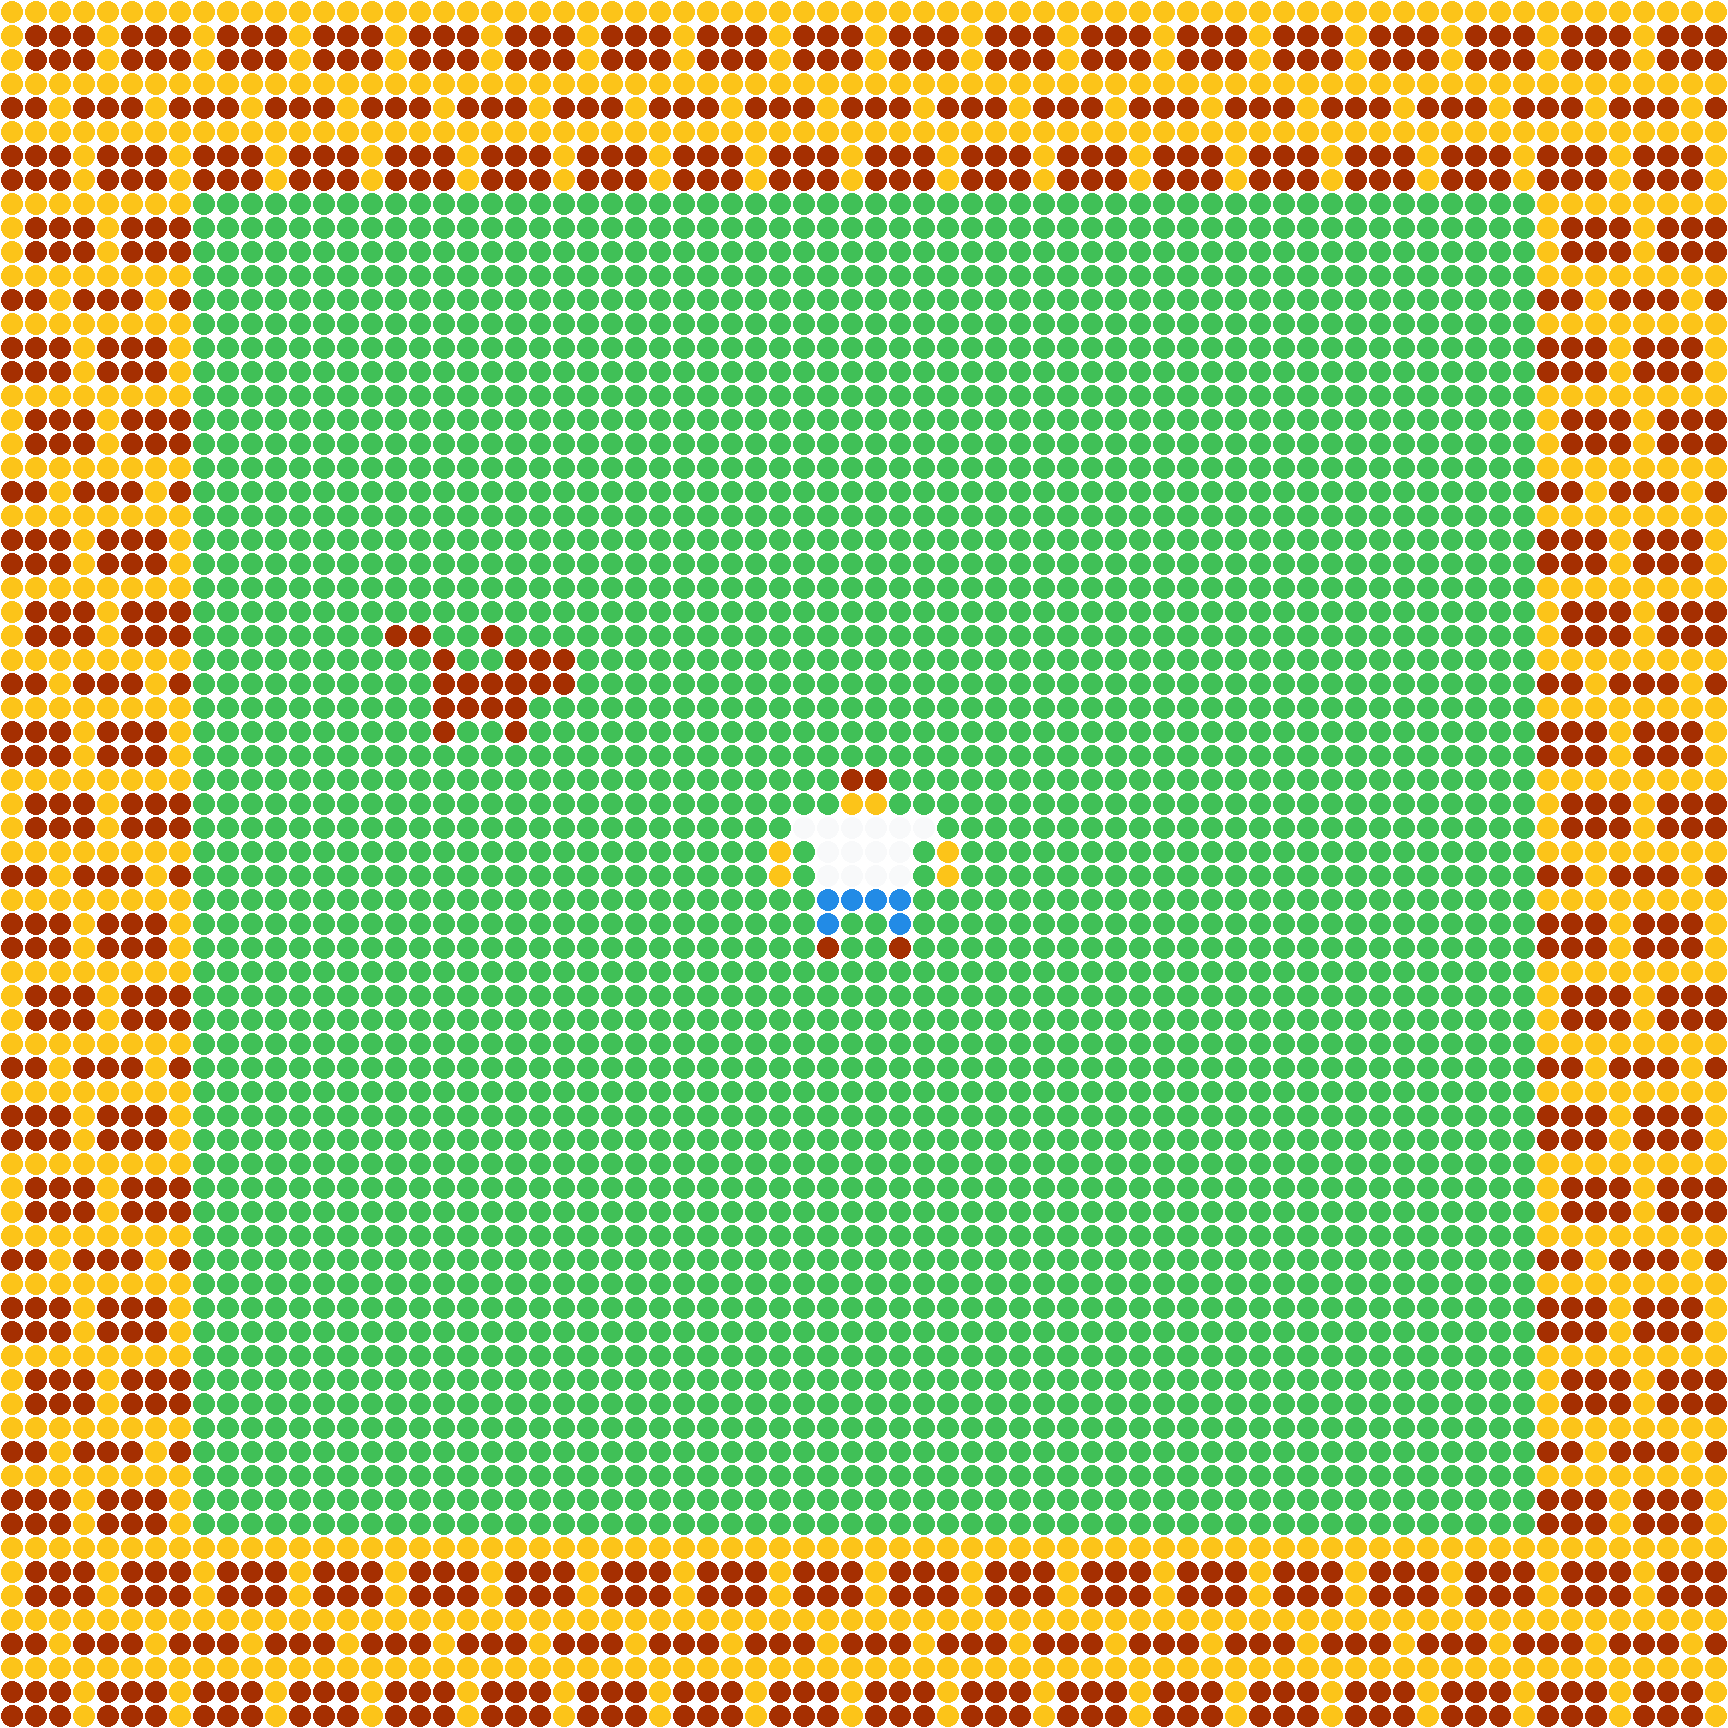
Turns each pixel of the image into a **polygon**.
```js
filter: {
name: 'fractal',
settings: {
sideCount: 12, // Number of sides
scale: 0.9, // Global zoom (0 to 1)
rotation: 0 // Rotation (0 to 1)
}
}
```
---
### `crt`
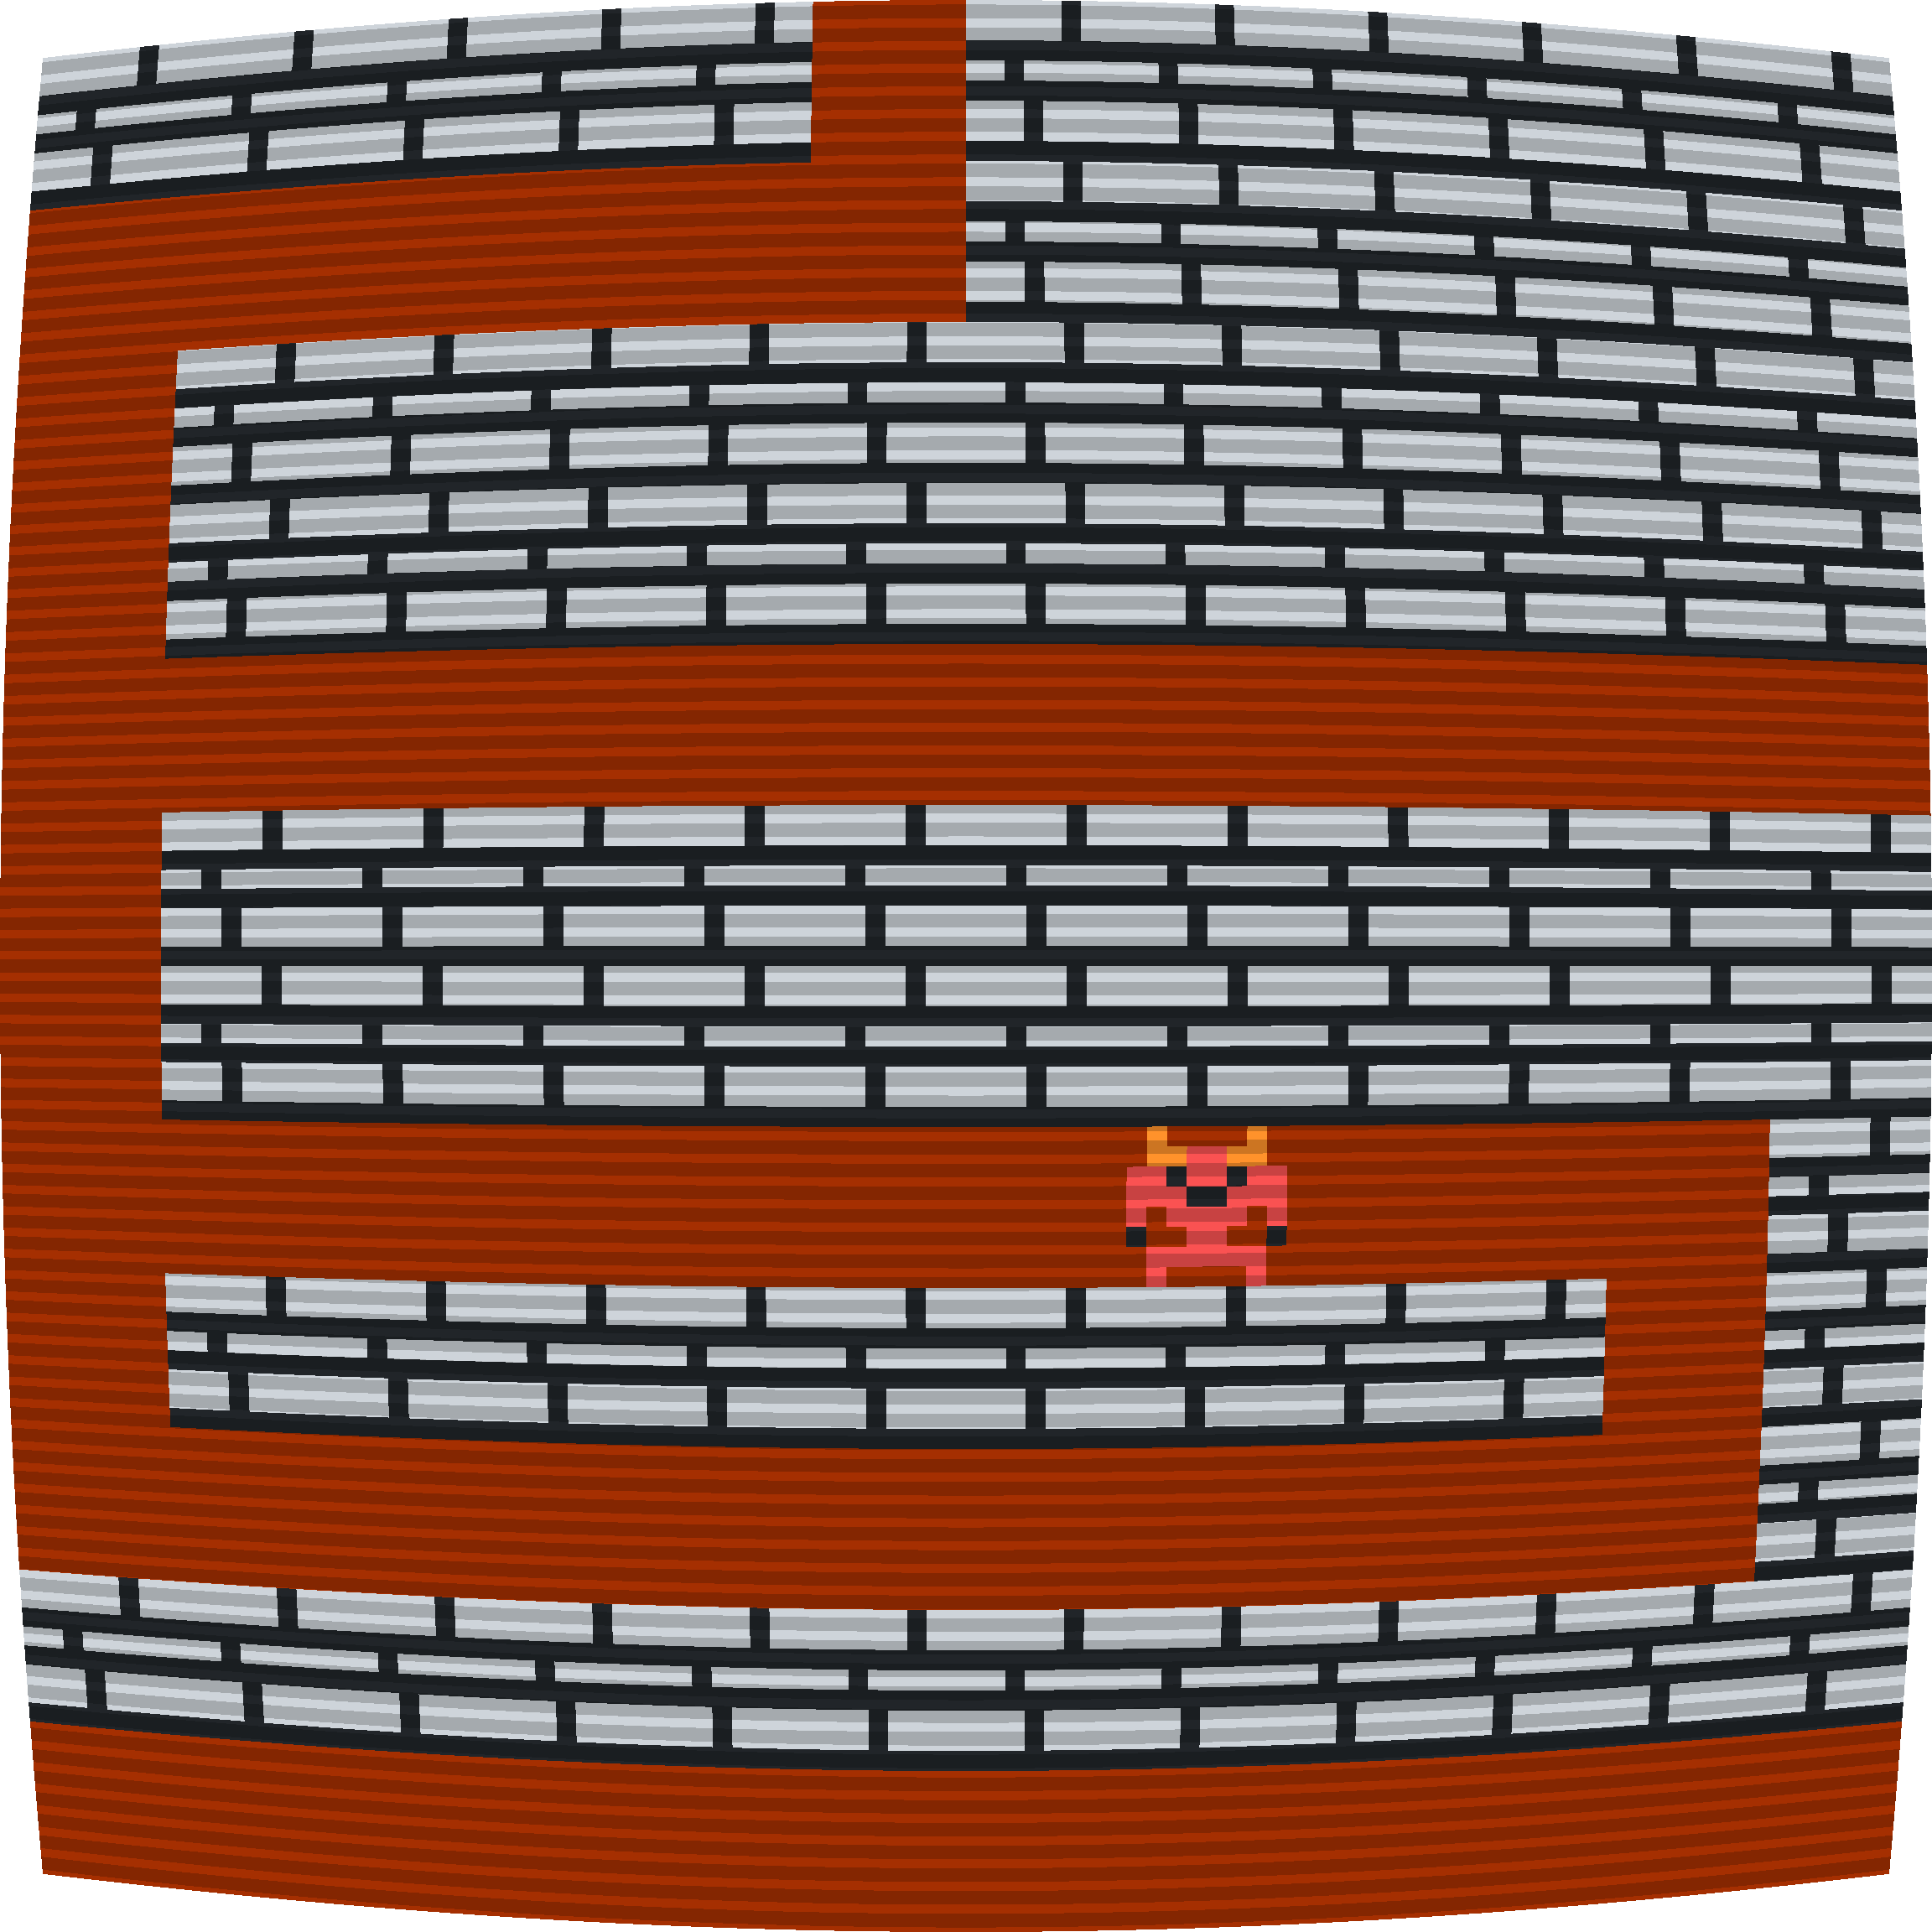
Simulates an old **CRT screen** with scanlines, distortion, and curvature.
```js
filter: {
name: 'crt',
settings: {
warp: 0.7, // Screen curvature (0 to 1)
lineIntensity: 0.2, // Line opacity
lineWidth: 0.6, // Line thickness
lineCount: 85 // Number of scanlines
}
}
```
---
### `neon`
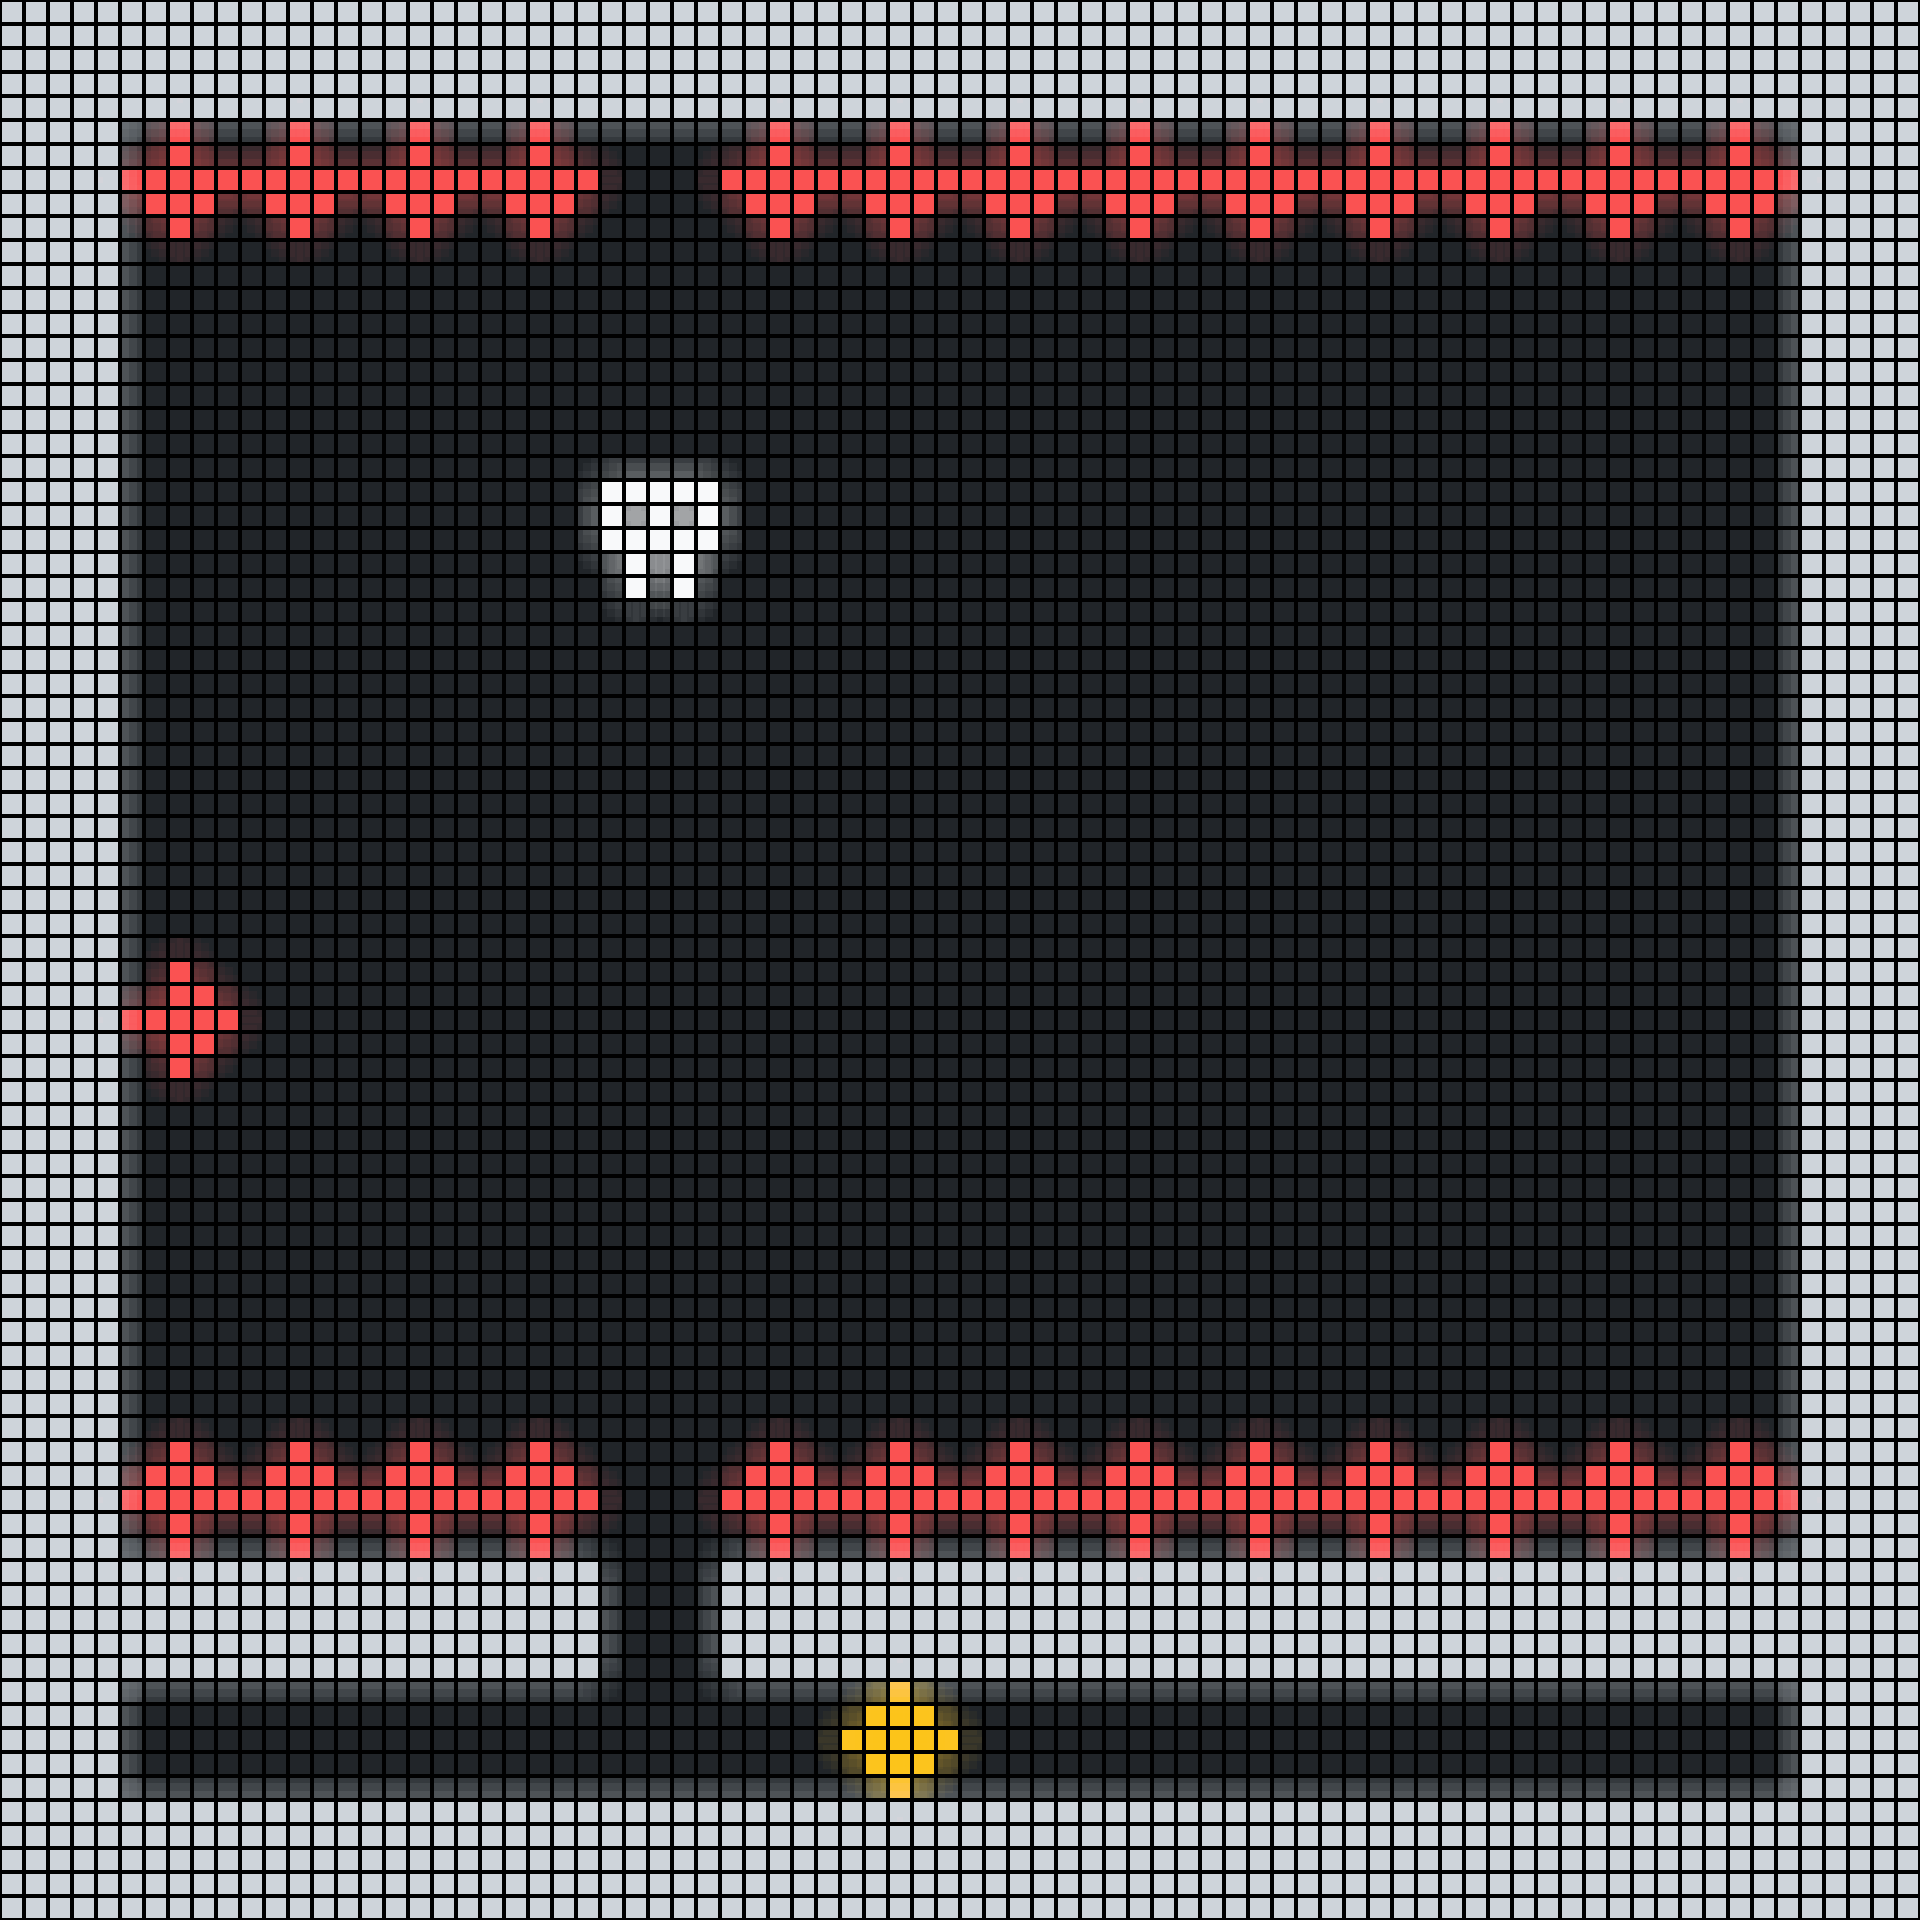
Creates a glowing **neon effect** with a pixelated mosaic overlay.
```js
filter: {
name: 'neon',
settings: {
scale: 0.75, // Tile size (0 to 1)
intensity: 0.8 // Glow intensity
}
}
```
---
## Custom Shaders
If you want full control, you can define your own **WebGL shaders** using the `filter` property.
A custom filter can include:
- a **fragment shader** (`fragment`)
- a **vertex shader** (`vertex`)
- any **uniforms** via `settings`
Here’s an example of a filter that inverts all colors:
```js
const myShader = `
precision mediump float;
uniform sampler2D u_texture;
varying vec2 v_texCoords;
void main() {
vec4 color = texture2D(u_texture, v_texCoords);
gl_FragColor = vec4(1.0 - color.rgb, color.a);
}
`
createGame({
filter: {
fragment: myShader
}
})
```
All `settings` values are injected into the shader as uniforms (prefixed with `u_`).
---
# Custom Controls
By default, Odyc.js uses the arrow keys and **Space** or **Enter** to move and interact.
But you can fully redefine the control scheme using the `controls` option.
---
## Default Setup
Here’s the default control configuration if none is specified:
```js
controls: {
LEFT: 'ArrowLeft',
RIGHT: 'ArrowRight',
UP: 'ArrowUp',
DOWN: 'ArrowDown',
ACTION: ['Enter', 'Space']
}
```
---
## Customizing the Keys
You can override this configuration when calling `createGame()`:
```js
createGame({
controls: {
LEFT: 'KeyA',
RIGHT: 'KeyD',
UP: 'KeyW',
DOWN: 'KeyS',
ACTION: 'ShiftLeft'
}
})
```
Each key can be:
- a **string** representing a keyboard key (`'z'`, `'ArrowLeft'`, `'Shift'`, etc.)
- or an **array of strings** if you want to allow multiple keys for the same action
---
## Recognized Keys
Key names follow the standard **[`KeyboardEvent.code`](https://developer.mozilla.org/en-US/docs/Web/API/KeyboardEvent/code)** values in JavaScript.
> The `KeyboardEvent.code` represents the physical key on the keyboard,
> not the character it generates.
> For example, the code is `"KeyQ"` for the physical **Q** key,
> which produces different characters depending on the keyboard layout.
Press a key to see its code:
---
## Available Actions
Here are the keys you can customize:
| Key | Action performed |
| -------- | ---------------------- |
| `UP` | Move the player up |
| `DOWN` | Move the player down |
| `LEFT` | Move the player left |
| `RIGHT` | Move the player right |
| `ACTION` | Skip dialog or message |
---
# Default Configuration
When you create a game using `createGame()`, a set of default options is automatically applied.
You can override any of these values to customize your game.
---
## Default Values
Here’s the configuration used if no custom options are provided:
```js
createGame({
player: {
sprite: 0
},
templates: {},
map: `
........
........
........
........
........
........
........
........
`,
colors: [
'#212529',
'#f8f9fa',
'#ced4da',
'#228be6',
'#fa5252',
'#fcc419',
'#ff922b',
'#40c057',
'#f06595',
'#a52f01'
],
messageBackground: 0,
messageColor: 1,
dialogBackground: 0,
dialogColor: 1,
dialogBorder: 1,
dialogIntervalMs: 30,
screenWidth: 8,
screenHeight: 8,
cellWidth: 8,
cellHeight: 8,
background: 1,
volume: 0.5,
controls: {
LEFT: 'ArrowLeft',
RIGHT: 'ArrowRight',
UP: 'ArrowUp',
DOWN: 'ArrowDown',
ACTION: ['Enter', 'Space']
}
})
```
 ---
##
---
##